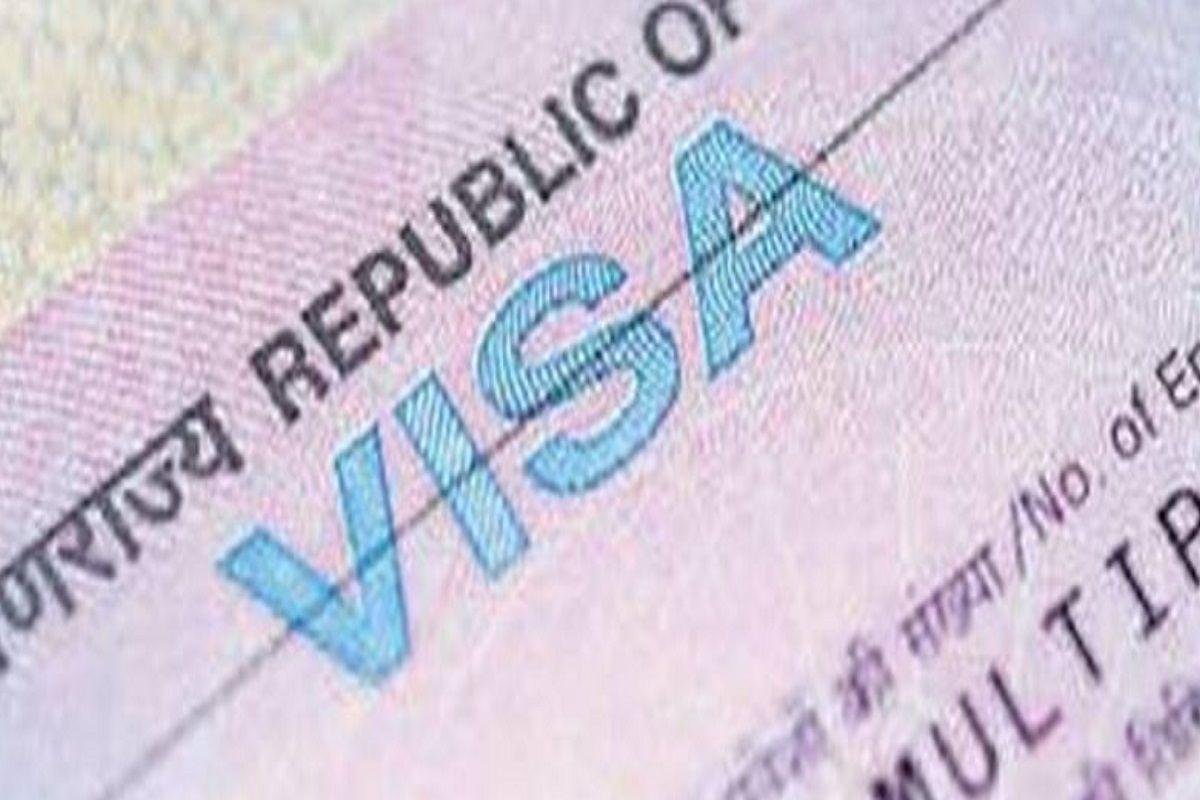
Are you planning a trip to India? If so, you’ll need to apply for a tourist visa. Don’t worry, the process is straightforward and can be done online. In this article, we will guide you through the steps of applying for an India tourist visa.
First, you need to determine the type of visa that suits your travel plans.
Then, gather the required documents such as your passport and a recent photograph.
Once you have everything ready, complete the online application form and pay the visa fee.
After that, schedule an appointment at the nearest Indian embassy or consulate for a visa interview.
Finally, all you have to do is attend the interview, wait for the approval, and you’ll be on your way to exploring the incredible sights and sounds of India.
So, let’s get started on your India adventure!
Key Takeaways
- Gather all required documents and ensure they are completed and organized.
- Be confident and honest during the visa interview, providing necessary details without being overly verbose.
- Include supporting documents such as hotel bookings, travel itineraries, and proof of financial capability.
- Dress appropriately for the visa interview, following any specific dress code requirements of the embassy or consulate.
Determine the Type of Visa You Need
To determine the type of visa you’ll need, take into consideration the purpose and duration of your visit. Visa eligibility and visa processing time are important factors to consider.
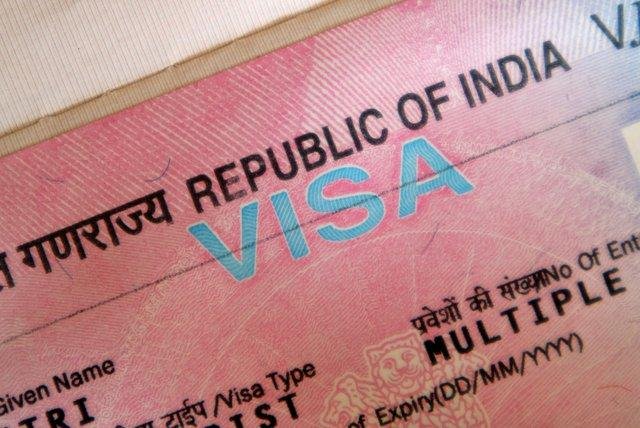
First, let’s talk about visa eligibility. India offers different types of tourist visas, such as e-Tourist visa, regular TOURIST VISA FOR INDIA, and medical visa. The e-Tourist visa is available for citizens of certain countries and allows a stay of up to 90 days for tourism, business, or medical purposes. The regular tourist visa allows a longer stay and is applicable for non-e-Tourist visa eligible countries. If you are seeking medical treatment in India, the medical visa would be the suitable choice.
Next, let’s discuss visa processing time. The processing time for an Indian tourist visa can vary depending on various factors such as your country of residence and the type of visa you are applying for. It is recommended to apply for your visa well in advance of your intended travel dates to allow for any unforeseen delays. Generally, the processing time can range from a few days to a couple of weeks. To ensure a smooth application process, it is advisable to check the official website of the Indian embassy or consulate in your country to get the most up-to-date information regarding visa processing time and requirements.
Now that you are aware of the different types of visas available and the general processing time, let’s move on to the next step – gathering the required documents.
Gather the Required Documents
Make sure you have all the necessary documents ready for your trip to India. It is important to gather the required documents in advance to avoid any last-minute hassles.
To start with, check the visa processing time for India. This will give you an idea of how long it will take for your visa to be processed, so you can plan accordingly.
Next, refer to the visa application checklist provided by the Indian embassy or consulate in your country.
The required documents may include your passport, which should be valid for at least six months from the date of your intended arrival in India. You may also need to provide recent passport-sized photographs, proof of accommodation in India (such as hotel reservations), proof of sufficient funds to cover your stay, and a copy of your travel itinerary. Additionally, you may need to submit a letter of invitation from a host in India, if applicable.
Ensure that all the documents are complete and meet the specified requirements. Any missing or incomplete documents may result in delays or even rejection of your visa application. It is recommended to make copies of all the documents for your own reference.
Once you have gathered all the required documents, you can proceed to the next step of the visa application process, which is completing the online application. This will require you to provide your personal information, upload scanned copies of the required documents, and pay the visa fee. Make sure to review all the information before submitting the application.
Now that you have all the necessary documents ready, you can move on to completing the online application for your India tourist visa.
Complete the Online Application
Now that you have all your required documents ready, it’s time to jump into the exciting part – filling out the online application for your incredible adventure in India! Here are some tips to ensure you complete the online application correctly and avoid common mistakes.
Firstly, make sure you have a stable internet connection before starting the application. This will prevent any disruptions during the process and ensure a smooth submission.
Next, carefully read and understand each question before providing your response. It’s crucial to provide accurate and honest information to avoid any complications later on.
When filling out the application, pay close attention to the formatting requirements. Ensure that you enter your name, address, and other details exactly as they appear on your passport. Any inconsistencies may lead to delays or even rejection of your visa application.
One common mistake to avoid is rushing through the application. Take your time and double-check all the information you provide. Any errors or missing information can cause unnecessary delays.
It’s also important to review your application before submitting it to ensure everything is accurate and complete.
Remember to save a copy of your application before submitting it. This will serve as a reference in case you need to review any details later on or if there are any issues with your application.
Now that you’ve completed the online application, it’s time to pay the visa fee.
Pay the Visa Fee
Once you’ve completed your online application, it’s time for you to go ahead and conveniently pay the visa fee for your exciting adventure in India! To make the payment process as smooth as possible, India offers various visa payment methods to suit your convenience. Here are three options to choose from:
- Online Payment: You can pay the visa fee online using a credit or debit card. This method is quick and secure, allowing you to complete the transaction from the comfort of your home. It’s a hassle-free way to ensure your payment is done efficiently.
- Bank Transfer: If you prefer a more traditional method, you can opt for a bank transfer. Simply visit your bank and initiate the transfer to the designated visa fee account. While this method may take a little longer, it provides a sense of reliability and is suitable for those who are more comfortable with offline transactions.
- Cash Payment: For those who prefer to pay in cash, you have the option to visit the nearest authorized visa application center. Here, you can pay the visa fee in cash and receive a receipt as proof of payment. This option is ideal for individuals who prefer face-to-face interactions and want to ensure that their payment is securely received.
It’s important to note that certain individuals may be eligible for visa fee exemptions. For example, children under the age of 16, applicants from certain countries, and individuals attending specific conferences or events may qualify for a waiver of the visa fee. Be sure to check if you meet the criteria for exemption before making the payment.
Once you’ve successfully paid the visa fee, it’s time to schedule an appointment at the embassy or consulate. This is the next step in the process and will allow you to submit your documents and complete any necessary interviews. So, let’s move forward and get ready for your exciting journey to India!
Schedule an Appointment at the Embassy or Consulate
Ready to take the next step on your exciting journey to India? It’s time to book an appointment at the embassy or consulate! Before you rush to schedule an appointment, it’s important to check the availability. The demand for visa appointments can be high, so it’s recommended to book well in advance to secure your preferred date and time.
To help you prepare for your appointment, here’s a table outlining the required documents you will need to bring:
| Required Documents | Details |
|---|---|
| Printed appointment confirmation | Proof of your scheduled appointment. |
| Completed visa application form | Fill out the form online and print it. |
| Passport and photocopies | Carry your original passport and copies of the identification pages. |
| Passport-sized photographs | Provide two recent color photographs. |
Once you have gathered all the necessary documents, visit the official website of the Indian embassy or consulate in your country to schedule your appointment. You will be prompted to create an account and provide your personal details. Then, select the date and time that suits you best from the available options.
After successfully booking your appointment, it’s time to prepare for the visa interview and wait for approval. During the interview, be ready to answer questions about your travel plans, purpose of visit, and provide any additional documentation requested. Remember to dress appropriately and arrive at the embassy or consulate on time.
Now that you have booked your appointment, it’s time to move on to the next stage of the visa application process.
Attend the Visa Interview and Wait for Approval
Upon successfully scheduling your appointment, the next step entails attending the visa interview and awaiting approval. The visa interview is a crucial part of the process, as it allows the embassy or consulate to assess your eligibility for a tourist visa to India. To make the most of this opportunity, here are some helpful tips.
First and foremost, it is essential to be well-prepared for the interview. Make sure you have all the required documents, such as your passport, completed visa application form, and supporting documents like hotel bookings and travel itineraries. Arrive at the embassy or consulate on time and dress appropriately, as this creates a good impression.
During the interview, be confident and honest in your responses. The visa officer may ask questions about your purpose of visit, duration of stay, and financial capability to support yourself during the trip. Answer these questions clearly and concisely, providing any necessary details without being overly verbose.
It is also crucial to demonstrate strong ties to your home country. This can be achieved by showing proof of employment, property ownership, or family relationships that anchor you to your home country. Providing evidence of return tickets or other commitments after your visit to India can also help assure the officer of your intention to leave the country at the end of your trip.
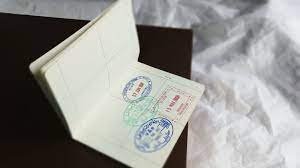
After the interview, you will need to wait for the visa approval process to be completed. The time required for this can vary, so it’s important to be patient. Once your visa is approved, you will receive your passport with the visa sticker affixed to it.
By following these visa interview tips and patiently waiting for approval, you will increase your chances of obtaining a tourist visa to India. So, stay positive and look forward to an exciting and memorable trip to the incredible land of India.
Conclusion
Applying for an India tourist visa involves several steps. First, determine the type of visa you need and gather all the required documents. Once you have all the necessary paperwork, complete the online application. Make sure to provide accurate and up-to-date information. After submitting your application, you will need to pay the visa fee. The fee can be paid online or at a designated bank. Once the fee is paid, schedule an appointment at the nearest Indian embassy or consulate. During the appointment, you may be required to attend a visa interview. Be prepared to answer questions about your travel plans and provide any additional documents requested. After the interview, all you can do is patiently wait for the approval of your visa. It is important to note that the processing time may vary, so it is advisable to apply well in advance of your planned travel dates. Following these steps and being well-prepared will increase your chances of successfully obtaining your India tourist visa. Good luck with your application!
Frequently Asked Questions
How long does it usually take to process an India tourist visa?
The processing time for an India tourist visa usually takes a few days to a few weeks. You will need to provide necessary documents such as a valid passport, visa application form, and proof of travel arrangements.
Is it possible to extend an India tourist visa?
Yes, it is possible to extend an India tourist visa. You can do so by following the extension process and meeting the eligibility criteria set by the Indian government.
Are there any specific medical requirements for obtaining an India tourist visa?
To obtain an India tourist visa, you’ll need to meet specific medical requirements. This includes having travel insurance and being up-to-date on vaccination requirements. Make sure to have these in order before applying.
Can I apply for an India tourist visa if I have previously been denied entry into the country?
If you were previously denied entry into India, you can still reapply for a tourist visa. However, it’s important to consider the consequences of denial and address any issues that led to your initial rejection.
Is there a maximum stay limit for tourists with an India tourist visa?
The maximum stay limit for tourists with an India tourist visa is typically 180 days. However, it is important to note that tourists with an India tourist visa are not allowed to work in the country.