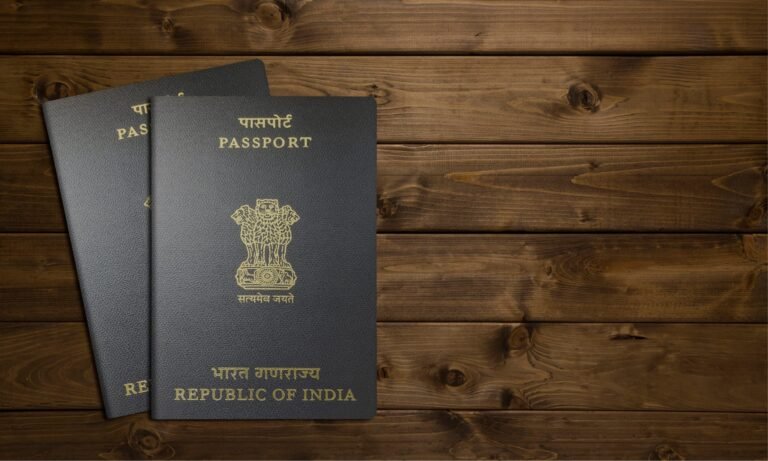
If you’re a Guatemalan or Guinean citizen planning a trip to India, you’ll need to secure an Indian visa. This article will guide you through the process step by step.
Understanding the various visa types available is crucial. Make sure to gather all the necessary documents for your application and fill out the online form accurately.
Don’t forget to schedule an appointment at the nearest Indian Visa Application Center and allow for the processing time. Once your visa is approved, you’ll be all set to embark on your journey to India.
Stay tuned for detailed instructions that will help you navigate the Indian visa application process smoothly.
Key Takeaways
- Different visa types available for Guatemalan and Guinean citizens, each with specific requirements and criteria that must be met for eligibility
- Importance of accurate document preparation including passport validity, online form completion, photos, and proof of travel to ensure a smooth application process
- Utilizing the official Indian visa website for information on requirements, application steps, FAQs, and updates to ensure a successful application
- Being mindful of visa processing time, appointment scheduling, fee payment methods, and visa collection procedures to avoid delays and ensure a seamless experience for the upcoming trip to India
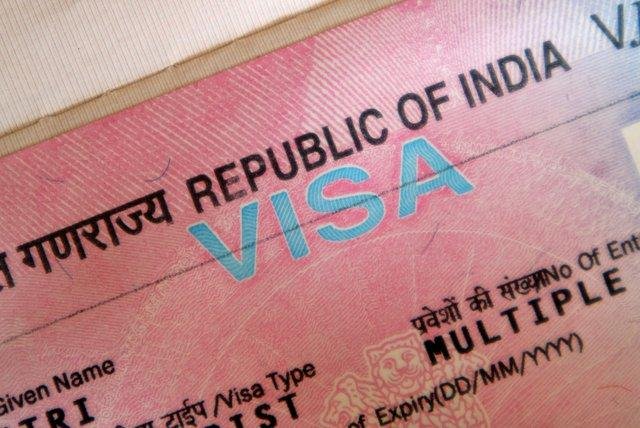
Understand the Visa Types Available for Indian Travel
You’ll need to understand the different visa types available for Indian travel before applying for your visa. Indian visas are categorized into various types depending on the purpose of your visit, such as tourist, business, student, medical, or employment visas. Each category has specific requirements that you must meet to be eligible for that particular visa. It’s essential to carefully review the criteria for each visa type to ensure you apply for the correct one that fits your travel needs.
When applying for an Indian visa, you should also consider the processing time and fees associated with the visa. The processing time can vary depending on the type of visa you’re applying for and the current workload at the Indian embassy or consulate. Additionally, visa fees can differ based on the visa category and your nationality. Make sure to check the latest fee schedule and processing times to plan accordingly for your visa application.
After understanding the visa categories, requirements, processing time, and fees, you can then gather the necessary documents for your visa application. It’s crucial to have all the required documents in order and submit a complete application to avoid any delays or complications in the visa processing. Ensure you have all the necessary paperwork ready before submitting your visa application to the Indian authorities.
Gather the Necessary Documents for Your Visa Application
Make sure you have all the required documents ready for your visa application to avoid any delays or complications. Having the necessary paperwork in order is crucial when applying for an Indian visa. Below is a document checklist to help you gather all the required items for your visa application. Familiarize yourself with the visa requirements to ensure a smooth and successful process.
| Document | Description |
|---|---|
| Passport | Must be valid for at least six months from the date of arrival |
| Visa Application Form | Fill out accurately and completely online |
| Passport-sized Photos | Recent, colored photos with a white background |
| Proof of Travel | Itinerary, flight tickets, or travel reservations |
Once you have all the necessary documents ready, you can proceed with your visa processing. The approval timeline for Indian visas can vary, so it’s essential to submit your application well in advance of your planned travel dates. After gathering all the required paperwork, you are now ready to complete the online visa application form for your Indian visa.
Complete the Online Visa Application Form
To complete your online visa application for India, you need to visit the official Indian visa website.
Make sure to fill out the application form accurately with all the required information.
Don’t forget to pay the visa application fee to submit your application successfully.
Visit the Official Indian Visa Website
When applying for an Indian visa, head over to the official website for all the necessary information and forms.
Here are three key things you’ll find on the website:
- Visa requirements – Understand what documents and information are needed for your application.
- Application process – Learn about the steps involved in applying for an Indian visa and how to navigate through the online system.
- Additional resources – Explore FAQs, contact information, and any updates or changes to the visa process.
Make sure to familiarize yourself with the website to ensure a smooth and successful application process.
Once you have gathered all the necessary information, transition into the subsequent section about filling out the application form accurately.
Fill Out the Application Form Accurately
Ensure you accurately complete the application form to avoid any delays or complications in your travel plans.
The application requirements are straightforward, but common mistakes, such as incorrect information or missing documents, can lead to processing delays.
Take advantage of assistance options and support services provided on the official Indian visa website if you have any questions or need guidance while filling out the form.
Double-check all the details you provide to ensure accuracy and prevent any issues that may arise during the application process.
Once you have filled out the form accurately, you can proceed to the next step of paying the visa application fee.
Pay the Visa Application Fee
Make sure you have the necessary funds available to pay the visa application fee before proceeding with the online payment process.
The visa application fee for Indian visas varies based on the type and duration of the visa you are applying for.
You can pay the fee using various payment methods such as credit/debit cards, online banking, or cash at designated banks.
Once you have successfully made the payment, you will receive a payment confirmation which you should keep as proof.
The processing time for the fee payment may vary, so it is essential to plan accordingly.
After completing the payment process, you can proceed to schedule an appointment at the nearest Indian visa application center for the next steps.
Schedule an Appointment at the Nearest Indian Visa Application Center
To schedule an appointment at the nearest Indian Visa Application Center, you can easily do so online or by contacting the center directly. Here is how you can schedule your appointment smoothly:
- Online Booking: Visit the official website of the Indian Visa Application Center and select the option to schedule an appointment. Fill in the required details, choose a convenient date and time, and confirm your booking. This method allows you to secure your appointment quickly and efficiently.
- Contact the Center: If you prefer a more personalized approach, you can contact the nearest Indian Visa Application Center directly. Speak to a representative, provide your details, and request an appointment for your visa application. They will guide you through the process and help you find a suitable time slot for your visit.
- Prepare Necessary Documents: Before your appointment, make sure you have all the necessary documents ready. This may include your passport, visa application form, photographs, proof of residence, and any other required paperwork. Having everything prepared in advance will help streamline the appointment process and avoid any delays.
After scheduling your appointment at the Indian Visa Application Center, the next step is to wait for the visa processing time. This will give you an opportunity to relax and prepare for your upcoming trip to India.
Wait for the Visa Processing Time
After scheduling an appointment at the nearest Indian Visa Application Center, the next step is to wait for the visa processing time. This period can vary depending on the type of visa you applied for and your nationality. It is essential to stay updated on visa processing updates to ensure you are aware of any changes or delays that may occur.
During the waiting period, there are a few tips to keep in mind to make the process smoother. Firstly, make sure to regularly check your email for any communication from the visa processing center. This could include requests for additional documents or updates on the status of your application. Secondly, use this time to gather any additional documents that may be requested to avoid delays in processing. Lastly, stay patient and avoid contacting the visa center unless absolutely necessary, as this can sometimes slow down the process.
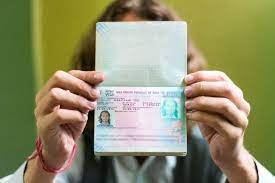
Once your visa application has been processed and approved, you will receive a notification to collect your approved Indian visa. This is an exciting moment as it means you are one step closer to your trip to India.
Receive Your Approved Indian Visa
Once your approved visa is in hand, remember to carry it with you at all times while in India. This is a crucial document that proves your legal entry into the country, so make sure to keep it safe and accessible.
Here are some tips to help you make the most of your visa approval process and arrival in India:
- Visa collection: Once you receive your approved Indian visa, double-check all the details to ensure accuracy. If you notice any discrepancies, contact the Indian embassy or consulate immediately for clarification and resolution.
Make copies of your visa: It’s always a good idea to have extra copies of your visa in case you misplace the original. Keep these copies in separate bags or with a trusted travel companion for safekeeping.
- Travel itinerary: Plan your travel arrangements in advance to make the most of your time in India. Make sure to book accommodations, transportation, and tours ahead of time to avoid any last-minute hassles. Keep a copy of your itinerary with your visa for easy reference during your trip.
Prepare for Your Trip to India
Now that you’ve received your approved Indian visa, it’s time to prepare for your trip to India.
As you get ready for this exciting adventure, there are a few things you should keep in mind to ensure a smooth and enjoyable journey.
First and foremost, make sure you pack all the essentials for your trip. Remember to bring your passport, visa, travel itinerary, and any necessary medications. It’s also a good idea to pack appropriate clothing for the varying climates you may encounter in India, as well as any electronics or other personal items you may need during your stay.
In addition to packing your physical belongings, it’s important to also prepare mentally for your trip by familiarizing yourself with Indian cultural etiquette. India is a country rich in customs and traditions, and it’s important to show respect for these practices during your visit. Be mindful of local customs regarding greetings, dress codes, and dining etiquette to ensure a positive experience for both yourself and the locals you will encounter.
By taking the time to pack thoughtfully and learn about Indian cultural etiquette, you’ll be well-prepared for your journey to India and will be able to fully immerse yourself in the beauty and diversity of this incredible country. Enjoy your trip!
Frequently Asked Questions
Can Guatemalan and Guinean citizens apply for an Indian visa online or do they need to apply in person at an Indian Visa Application Center?
Guatemalan and Guinean citizens can apply for an Indian visa online. Entry requirements include providing necessary documentation. It’s a convenient way to submit your application without having to visit an Indian visa application center in person.
Are there any specific requirements or restrictions for Guatemalan and Guinean citizens when applying for an Indian visa?
When applying for an INDIAN VISA FOR GUATEMALAN CITIZENS and INDIAN VISA FOR GUINEAN CITIZENS must meet specific requirements, such as providing necessary documents and information. There may be restrictions based on nationality. Be aware of cultural norms, additional fees, and processing time.
How long is the typical processing time for an Indian visa for citizens of Guatemala and Guinea?
The typical processing time for an Indian visa for citizens of Guatemala and Guinea is around 5-7 working days. You can apply online or at the embassy, ensuring all required documents are submitted.
Are there any additional fees or charges that Guatemalan and Guinean citizens should be aware of when applying for an Indian visa?
When applying for an Indian visa, be aware of additional charges that may apply. Ensure to complete the online application accurately and familiarize yourself with any cultural norms. Processing time varies.
Are there any specific cultural or social norms that Guatemalan and Guinean citizens should be aware of when traveling to India with an approved visa?
When traveling to India with an approved visa, be mindful of cultural etiquette and social customs. Respect local traditions, dress modestly, and avoid public displays of affection. Learning a few basic phrases in Hindi can also be helpful.
Conclusion
Now that you have successfully applied for your Indian visa, all that’s left to do is prepare for your upcoming trip to India!
Make sure to pack all necessary documents, book your accommodations, and plan out your itinerary.
With your approved visa in hand, you’re one step closer to experiencing the vibrant culture and rich history of India.
Enjoy your journey and create unforgettable memories in this incredible country!