Planning a trip to India for business or tourism? Wondering how to navigate the visa application process? Look no further! This article will guide you through the steps to apply for a business or tourist visa for India. By following these simple instructions, you can ensure a smooth and successful visa application experience.
From determining the type of visa you need to collecting your visa, we’ve got you covered. So, grab your documents, fill out the online form, schedule your appointment, pay the fee, and wait for your visa to be processed.
Before you know it, you’ll be ready to embark on your Indian adventure hassle-free. Let’s get started!
Key Takeaways
- Understand the application process for both business and tourist visas
- Gather all necessary documents and complete the application accurately
- Stay informed and prepared for the visa approval timeline
- Follow instructions in the notification email for smooth visa collection process
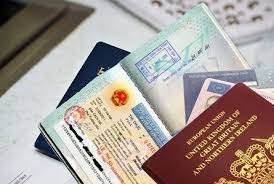
Determine the Type of Visa You Need
To make sure you have the right visa for your trip, you’ll need to determine the type you need – whether it’s a business visa or a tourist visa. First, consider the visa eligibility criteria. For a BUSINESS VISA FOR INDIA, you will typically need to provide documentation showing the purpose of your trip, such as a letter of invitation from an Indian company. On the other hand, for a tourist visa, you may need to show proof of accommodation bookings and travel itinerary.
Next, look into the visa processing timeframes. Business visas may have longer processing times due to the need for additional verification of your business activities in India. Tourist visas, on the other hand, are usually processed more quickly since the requirements are more straightforward. Keep in mind that processing times can vary based on the specific consulate or embassy where you submit your application.
Once you have determined the type of visa you need and are aware of the eligibility criteria and processing timeframes, you can proceed to gather the required documents for your application. This includes items such as a valid passport, passport-sized photographs, and any additional supporting documents specific to your visa type. With these in hand, you’ll be one step closer to securing your visa for India.
Gather Required Documents
Make sure you have all the necessary documents ready for your trip to India. To apply for a business or tourist visa, you will need to gather the required documents to support your application. Below is a document checklist to help you prepare for the application process:
| Document | Description |
|---|---|
| Passport | Must be valid for at least 6 months |
| Visa Application Form | Completed and signed |
| Passport-size Photos | Recent, color photos with white background |
| Proof of Travel | Flight itinerary or travel reservation |
| Proof of Accommodation | Hotel booking or invitation letter from host |
| Financial Documents | Bank statements, pay stubs, or proof of funds |
Once you have gathered all the necessary documents, you can proceed with the application process for your business or tourist visa to India. These documents will help support your application and demonstrate your intent to visit the country for the specified purpose.
Transitioning into the next section, you will need to fill out the online application form to continue the visa application process smoothly.
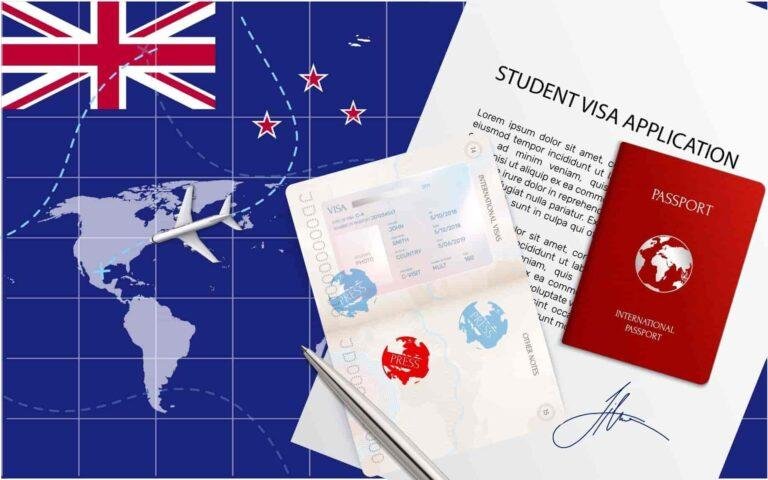
Fill Out the Online Application Form
Complete the online application form to ensure your trip to this vibrant destination goes smoothly. The online application form is a crucial step in applying for a business or tourist visa to India. This guide will provide you with tips for completing the application form accurately and efficiently.
When filling out the online application form, make sure to double-check all the information you provide. Common mistakes to avoid include spelling errors, incorrect dates, and missing required fields. It’s essential to be thorough and accurate to prevent any delays in processing your visa application.
To start the application process, you will need to create an account on the official Indian visa website. Once you have registered, you can begin filling out the application form. Make sure to have all the necessary documents and information on hand, such as your passport details, travel itinerary, and proof of accommodation.
As you complete the form, pay close attention to the instructions and provide all the requested information truthfully. Once you have filled out all the sections, review the form carefully before submitting it. After submitting the form, you will receive a confirmation email with further instructions on how to schedule an appointment at the visa application center. This step is essential for completing the visa application process successfully.
Schedule an Appointment at the Visa Application Center
To schedule an appointment at the Visa Application Center, start by choosing a convenient date and time that works best for you.
Make sure to attend the appointment with all the required documents in hand to avoid any delays or complications in the visa application process.
By being prepared and punctual, you can ensure a smooth and efficient experience at the Visa Application Center.
Choose a Convenient Date and Time
When selecting a date and time for your visa appointment, consider your schedule and availability. Make sure to choose a suitable location and pick an appropriate duration for your appointment. Here are some tips to help you choose a convenient date and time:
- Check your calendar for any prior commitments
- Consider the operating hours of the visa application center
- Aim for a time when you are most alert and prepared
- Avoid peak hours to reduce waiting time
- Select a date that allows you enough time to gather all necessary documents
Now that you have chosen a suitable date and time, let’s move on to attending the appointment with all required documents.
Attend the Appointment with All Required Documents
Make sure you’ve got all your necessary documents ready before heading to your appointment so you can breeze through the process smoothly.
Document verification is a crucial step in the visa application process, so double-check that you have all the required paperwork, such as your passport, visa application form, passport-sized photographs, proof of travel arrangements, and financial documents.
Arrive at the visa application center on time and be prepared for any additional questions or requests from the visa officer. Ensure that all your documents are organized and easily accessible for quick verification.
Once you have successfully completed the document verification process, you can transition into the subsequent section about paying the visa fee.
Pay the Visa Fee
Paying the visa fee is a crucial step in securing your travel plans to India. Visa processing requires you to pay the required fee before your application can be processed. Here are some key points to keep in mind when paying the visa fee:
- Make sure to check the current visa fee for your specific visa type and duration of stay.
- Visa fees can be paid using various payment options such as credit/debit cards, cash, or online payment methods.
- It is essential to keep the payment receipt as proof of payment during your visa application process.
- Double-check the payment process and any additional charges that may apply to avoid any delays in your visa processing.
After paying the visa fee, you will need to wait for the visa processing to be completed. This can take some time, so make sure to track the progress of your application regularly.
Waiting for the visa processing can be a bit nerve-wracking, but staying informed and patient is key to a successful visa application process.
Wait for the Visa Processing
Once you’ve submitted your visa application, you can track its status online to stay updated on the progress.
You’ll receive a notification when your visa is ready for collection, so make sure to keep an eye on your email or the visa application portal.
It’s important to stay informed throughout the visa processing period to ensure a smooth and timely experience.
Track Your Application Status Online
To keep tabs on your application status online, simply head to the official website and enter your tracking number.
The benefits of using the online status updates include being able to see where your application is in the process and when you can expect a decision to be made.
By checking regularly, you can ensure that everything is on track and address any issues that may arise promptly.
Once you receive notification that your visa is ready, you can move forward with your travel plans and prepare for your trip to India.
This online tracking system provides peace of mind and transparency throughout the visa application process.
Receive Notification When Your Visa is Ready
Upon approval of your application, you will receive a notification informing you that your travel documents are ready for collection.
The visa notification process usually takes a few days after your visa has been approved. It is essential to keep an eye on your email or phone messages during this time to ensure you do not miss any updates regarding your visa status.
The visa approval timeline may vary depending on the type of visa you have applied for, so it’s crucial to stay informed and prepared for when the notification arrives.
Once you receive the notification that your visa is ready, you can proceed to the next step and collect your visa from the designated location.
Collect Your Visa
Make sure you have all the necessary documents before heading to the visa office to collect your visa. Once you receive notification that your visa is ready, it’s time to go and pick it up. This final step is crucial to ensure that you have everything you need for your trip to India. Here is a helpful checklist of the documents you should take with you when collecting your visa:
| Documents Required | Additional Information |
|---|---|
| Passport | Must be valid for at least six months from the date of entry into India |
| Visa Application Form | Completed and signed |
| Visa Fee Receipt | Proof of payment |
| Photo ID | Government-issued identification |
| Notification Email | Showing that your visa is ready for pickup |
Before you head to the visa office, double-check that you have all the necessary documents to avoid any delays or complications. Once you have everything in order, make your way to the designated location to collect your visa. Be sure to follow any instructions provided in the notification email to ensure a smooth visa pickup process. With your visa in hand, you can now look forward to your upcoming trip to India. Enjoy your travels!
Frequently Asked Questions
Can I apply for a business visa if I am self-employed or a freelancer?
Yes, you can apply for a business visa if you are self-employed or a freelancer. As long as you meet the eligibility requirements and can provide the necessary documentation, you are eligible to apply.
Is there a specific timeframe within which I need to schedule an appointment at the Visa Application Center?
For appointment flexibility, schedule your visa application center appointment early to avoid delays. Processing time can vary, so plan ahead to secure a slot. Last minute appointments may not be available, so book in advance.
Are there any additional fees or charges that may be incurred during the visa processing?
During the visa processing, you may incur additional fees for extra services or documentation requirements. Be sure to check the visa processing timeframes and any potential charges to avoid delays or unexpected costs.
Can I track the status of my visa application online?
Yes, you can track the status of your visa application online. Simply log into the online visa tracking system and enter your application details. This will provide you with real-time updates on the processing time.
Can I apply for a tourist visa if I plan to visit multiple cities in India during my trip?
Yes, you can apply for a tourist visa if you plan to visit multiple cities in India during your trip. Make sure to include your city hopping adventures in your travel itinerary requirements for the visa application.
Conclusion
Now that you have completed all the necessary steps for applying for a business or tourist visa for India, all you need to do is wait for the visa processing to be completed.
Make sure you have submitted all the required documents and paid the visa fee to avoid any delays.
Once your visa is ready, you can collect it and start planning your trip to India.
Safe travels!